I’ve gotten some great feedback from my original PowerShell/PowerCLI script to deploy multiple VMs asynchronously via a CSV file found here. I decided a minor update was needed to employ these new ideas along with a few I had myself.
One of those ideas was to require the usage of the new PowerCLI 5.5 R2 features which allows the script to run without the need for a 32bit PowerShell console.
Changes include:
- Cleaned up code / Minor bug fixes
- Added CSV field descriptions to notes section
- Removed requirement for 32bit PowerShell
- Added requirement for PowerCLI 5.5 R2 or later
- Added Boot parameter to determine whether or not to power on new VMs
- Added OS Customization Spec to CSV (previously was hard coded in user variables)
- Fixed logic for vSS vs vDS – Added parameter to CSV
- Added ability to use DHCP instead of just static IPs
- Renamed a few CSV fields to better describe parameter
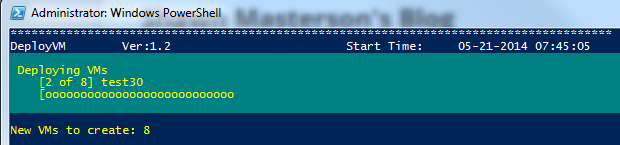
- Added progress bar to indicate status
I also thought it would be a good idea to describe how to setup and run the script as there are a few components that need to be in place for everything to run smoothly. If you happen to have run v1 of the script, you’ll need to create a new DeployVM.csv as some fields have been added and others changed.
In order to run the script, three components need to be setup prior.
1) OS Customization Spec
I won’t go into great detail about what a OS Customization Spec is but I did want to point out a few helpful items. Essentially, we need to create a Custom Spec that we will then use as a template of sorts. I like to have one set aside specifically for the script to use.
For both Windows and Linux you’ll want to set the Computer Name as shown here:
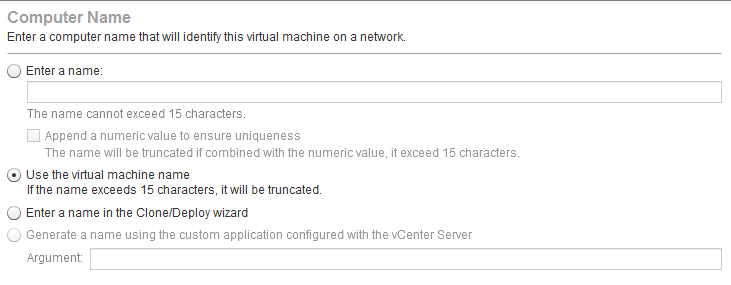

A note on Linux – you’ll need to set the DNS servers in the Custom Spec as they are not able to be modified via the Set-OSCustomizationNicMapping cmdlet.
Lastly, ensure that your OS is supported via OS Customization Spec as all are not (even if they are supported as a guest OS in VMware – for example Windows 2000 and CentOS are two examples that are not supported)
2) VM Template
This one is pretty self-explanatory – you’ll need a template to clone for your new VM.
3) DeployVM.csv
This is where the script receives all the information that you provide to build the new VMs. As the field descriptions have been added to the script, I won’t go over all of them here.
It’s worth noting that the script can create a blank CSV for you by issuing the following command:
.\DeployVM.ps1 -createcsv
This will create the DeployVM.csv file in the same directory as the script.
Running the script
Once you have tested the script and have everything in place, it’s easy to reuse over again as you’ll just need to update the DeployVM.csv with a few parameters. For ease of use you can get to a point where a single one-liner will fire off the script like so:
.\DeployVM.ps1 -csvfile E:\DeployVM\DeployVM.csv -vcenter vcname -auto
Logging
The last point to mention is that a directory is created to store a log of the actions as well as a folder to store a copy of the DeployVM.csv so you can keep track of who has done what and when. These folders are created in the same directory in which the script is run.
Enjoy!